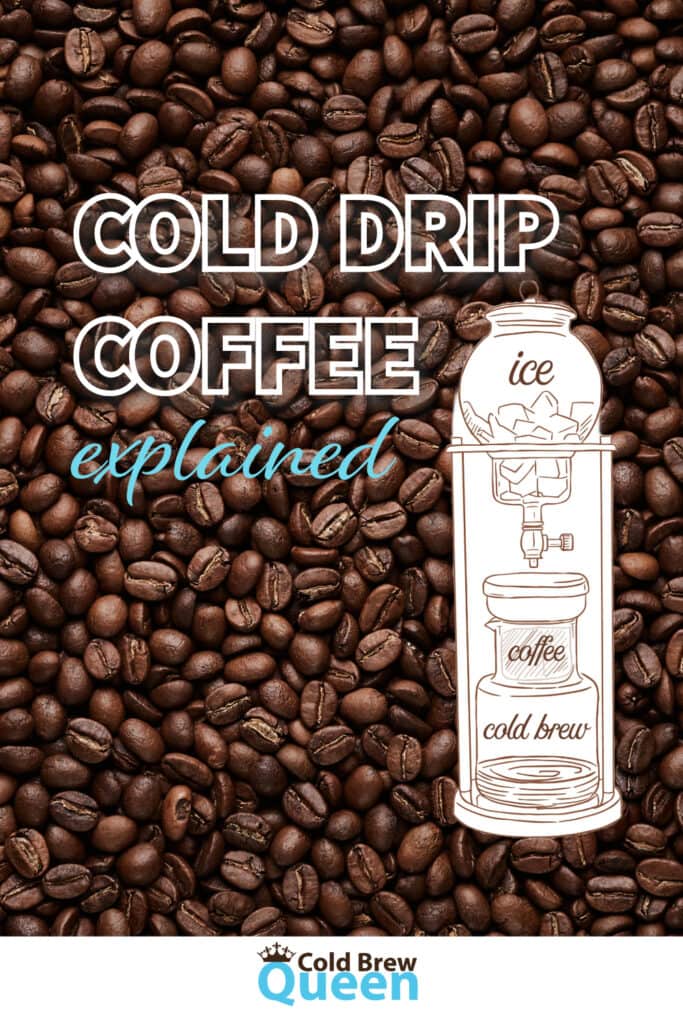
How to Make Cold Drip Coffee: Smooth Brews One Drop at a Time
This post may contain affiliate links. If you make a purchase through a link I may earn a commission. As an Amazon affiliate I earn from qualifying purchases.
Cold drip coffee is different from cold brew, both known for their smooth flavor and bold taste. It involves slowly dripping water through coffee grounds without heat, resulting in a less acidic drink. Making cold drip coffee at home may seem fancy, but with the right tools and patience, you can enjoy a beautiful coffee experience.
Setting up your cold drip apparatus might look like a miniature chemistry lab on your kitchen counter, but the process is straightforward. The key to mastering this brewing method is a slow and steady drip rate, which ensures that the water has enough time to absorb the coffee’s rich flavors and aromas. All cold brew methods use longer times to make up for the lack of heat when extracting coffee.
Understanding the Basics
Cold Drip Coffee vs. Cold Brew
Cold drip coffee and cold brew coffee are often mistaken for the same thing, yet they are distinct.
- Cold drip coffee involves water dripping slowly over coffee grounds, typically using a drip tower. This method encourages a clear, crisp flavor profile and less acidity.
- Cold brew is made by steeping coarse coffee grounds in cold water for several hours, producing a sweeter, full-bodied taste.
Equipment Needed for Cold Drip Coffee
To create cold drip coffee, you’ll need:
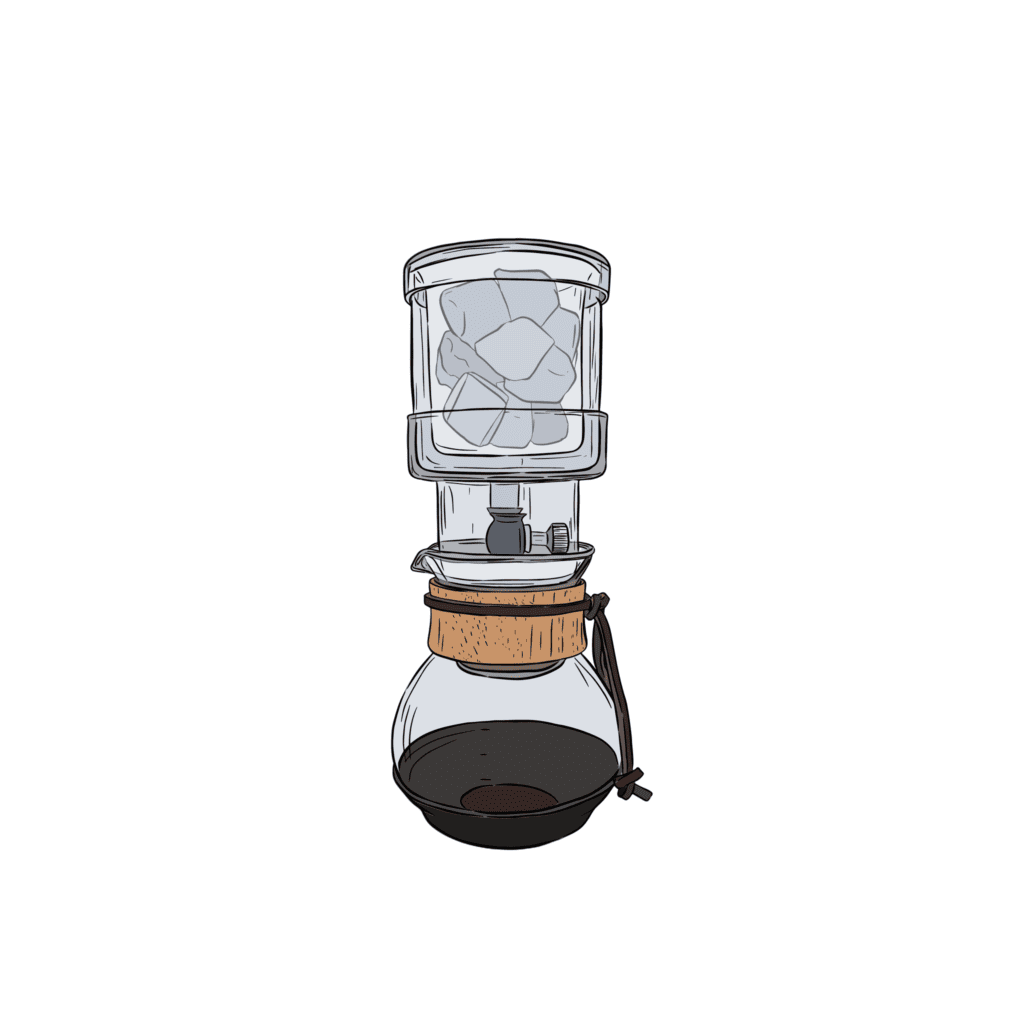
- Drip Tower: A container where water is stored and regulated to drip over coffee grounds.
- Grinder: (optional) A burr grinder is preferred over a blade grinder for a consistent grind size.
Consistency in grind size and a controlled drip rate are important for extracting the best flavor.
The Brewing Process
Setting Up Your Cold Drip System
Since cold drip requires special equipment, every system is unique. What follows is a general process.
Begin by setting up your cold drip apparatus, making sure each part is clean and secure. Often these systems are made of glass so you don’t want anything to crash and break!
Add your coffee grounds chamber. There should be a filter to prevent fine particles from slipping through. Tamp your coffee slightly to create an even bed for uniform water distribution.
Some systems may have you place an additional filter on top of the grounds. This helps to spread out the water over the grounds and prevents channeling. Other systems may have more of a rain shower head to promote even distribution of water.
Selecting Your Beans
The best coffee beans for you depend on your flavor preference. A lighter roast will accentuate more acidic and floral notes, perfect for a refreshing cold coffee. My current favorite is medium roast.
Use a medium-coarse grind; too fine and the water may not flow properly, too coarse and water will run through to quickly, leading to a weak flavored coffee.
Water Quality
Use cold, filtered water to get the best tasting coffee. The quality of water has a direct impact on the taste, so if your tap water is hard or has a strong taste or smell, opt for bottled or filtered water. Fill the reservoir of your drip system with the manufacturer’s suggested amount of water.
Many systems suggest adding ice to further cool the water. I use ice from my refrigerator, which has a filter. Alternately, use filtered water to make your ice cubes.
Brewing Ratios and Grind Consistency
Follow the ratio recommendations for your brand of cold dripper as a starting point. Add a little more coffee next time if it isn’t strong enough or reducing coffee if it was too strong.
Setting the drip rate to one drop per second is a good starting point, but make it slower for a stronger brew, which increases the contact time of the water to the coffee.
Ideally you will brew in a refrigerator for optimum safety. However, there is less concern with countertop brewing with this method since the brew time is much shorter, usually just a few hours.
Some cold drip towers are elaborate glass structures so you will have no choice but to brew on the countertop.
Serving and Storage
Diluting the Concentrate
To serve your cold brew, dilution may be necessary. If the cold brew you just created is too strong you can mix it with water or milk. I typically taste first and then add a splash of water, take another sip, and dilute it bit by bit until I am happy.
Storage Solutions
After brewing, store your cold brew concentrate in a sealed container in the refrigerator. This will help maintain the flavor profile and prevent contamination. The shelf life of cold brew can vary. It should technically keep for up to a week, but ideally you should drink it within a few days for best taste.
- In the fridge: Keep your concentrate in a clean, airtight container.
- Glass vs. Plastic: Use a glass container if possible, as it doesn’t hold odors or flavors from previous contents and is generally better for taste retention.
Remember: Always keep your cold brew concentrate cold. If it reaches room temperature, consume it within a few hours to ensure both safety and quality.
Common Issues and Fixes
- Coffee Too Weak:
- Increase coffee grounds: Add more coffee for a stronger taste.
- Slow down the drip rate: Increasing the steep time allows for more extraction.
- Coffee Too Bitter:
- Coarsen the grind: A finer grind may cause over-extraction.
- Speed up the drip: A faster rate can reduce extraction time, lessening bitterness.
- Uneven Extraction:
- Check the grind consistency: Ensure that coffee grounds are uniform in size.
- Adjust the drip apparatus: Make sure water is evenly distributed over the coffee bed.
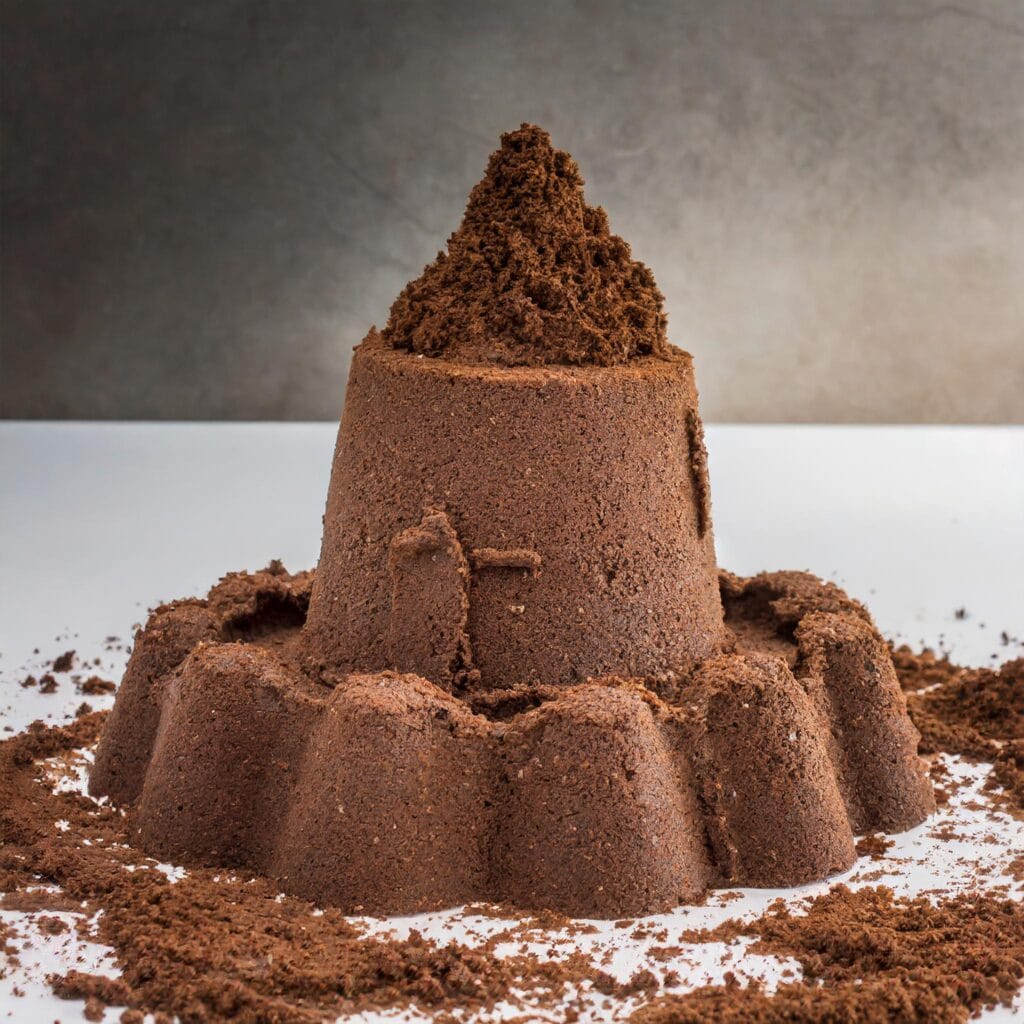
Tip: I like to pre-wet my grounds, mixing them with a little water so that they look like wet sand that you would use to make a sandcastle. I find the water flows through more evenly and I get a stronger, bolder result.
Pay close attention to your adjustments, and remember that small changes can have significant impacts on the final taste. Troubleshooting is a process of precise tweaks to perfect your brew.